Daily Active Users (DAU) refers to the number of unique users who engage with an app within a 24-hour period. This metric is commonly used by businesses where app interaction on a daily basis is expected, such as in the gaming industry.
What exactly does DAU (Daily Active Users) mean?
Let’s break it down. An active app user is someone who has downloaded and accessed an app. The definition of an active interaction may vary across different industries and brands, but the most common example is when a user logs into their account.
For example, an online banking app might consider making a transfer as an interaction, while an eCommerce app might define it as adding an item to the cart. A SaaS company, on the other hand, might focus on software usage as an indicator of user activity.
In any case, active users are identified using personal unique identifiers like IDFA (for iOS 14+ users who have given consent), email, user ID, or cookies for web users. Sometimes, a combination of these identifiers is used to ensure accurate identification.
Many businesses consider DAU as a measure of success. The more users choose to interact with an app on a daily basis, the “stickier” the app is considered.
How to calculate DAU (Daily Active Users)?
The formula for calculating daily active users (DAU) is deceptively simple but can become more complex depending on how the activity is defined. Here are the steps to get started:
- Define the criteria for an active user.
- Define the frequency of engagement you want to measure (in this case, DAU).
- Collect the data using your preferred analytics tool and sum the number of unique users who meet the criteria for being an active users on the selected day.
Let’s take a practical example to illustrate this:
Criteria: The user clicked a button, swiped, or scrolled within the app. Frequency of engagement: DAU. On a specific day, the following engagements were recorded:
- User 1 clicked a button and then closed the app.
- User 2 logged into the app but remained idle.
- User 3 logged into the app, scrolled, swiped, or clicked a button.
- User 1 logged back into the app and clicked another button.
Bottom line: In this case, our DAU count adds up to 2. Why?
User 1 is considered an active user and is counted once. User 2 is not considered active. User 3 is also an active user.
It’s important to note that measuring DAU depends heavily on the long-term growth goals and business model of your company. Different business goals require different criteria for defining active users.
Why should you use DAU (Daily Active Users) as a metric?
Monitoring and analyzing your Daily Active Users (DAU) count is crucial for understanding the success and health of your app. Here are some reasons why you should utilize DAU as a metric:
- Assessing effectiveness: Tracking your DAU count over time allows you to evaluate the effectiveness of your campaigns and marketing efforts. It provides insights into the popularity of your app and its growth potential.
- Customer experience: DAU helps you gauge the satisfaction and engagement levels of your users. By monitoring DAU trends, you can align your app’s features and functionalities with the needs and preferences of your users.
- Key metric correlation: DAU is interconnected with other important metrics such as Lifetime Value (LTV) and retention rates. Calculating LTV requires knowledge of retention rates, which rely on DAU data. Understanding your DAU count helps you grasp the overall health of your app and its impact on user retention.
Limitations of metric DAU (Daily Active Users)
While DAU is a valuable metric, it does have limitations that should be considered:
- Contextual interpretation: Viewing DAU in isolation can be misleading. The numerical value of DAU depends on how a company defines an “active user.” Fluctuations in DAU should be interpreted in conjunction with other business criteria to gain meaningful insights.
- Engagement and satisfaction: Having a high DAU count does not necessarily equate to engaged or satisfied users. Different brands define an “active user” differently, making direct comparisons between statistics unreliable.
- Holistic measurement: Relying solely on DAU neglects other important aspects of your app’s performance. It’s essential to complement DAU analysis with metrics like user acquisition (UA), in-app purchases, user reviews, and customer feedback to obtain a comprehensive understanding of your app’s health and identify potential issues.
In conclusion, while DAU is a vital metric, it should be used in conjunction with other relevant metrics to gain a comprehensive view of your app’s performance and user satisfaction. By considering a variety of metrics, you can uncover valuable trends and make informed decisions to drive the success of your app.
The DAU/MAU ratio: Measuring user engagement and stickiness
The DAU/MAU ratio is a powerful metric that, when combined with monthly active users (MAU), allows you to measure the relative volume of monthly active users who engage with your app within a 24-hour time period.
Why is the DAU/MAU ratio important?
The DAU/MAU ratio is not only useful for forecasting traction and potential revenue, but it also provides valuable insights into the value your app brings to users by measuring their frequency of return. A higher ratio indicates that a larger proportion of your monthly active users are engaging with your app on a daily basis, which is a strong indicator of user satisfaction and product stickiness.
How to calculate the DAU/MAU ratio
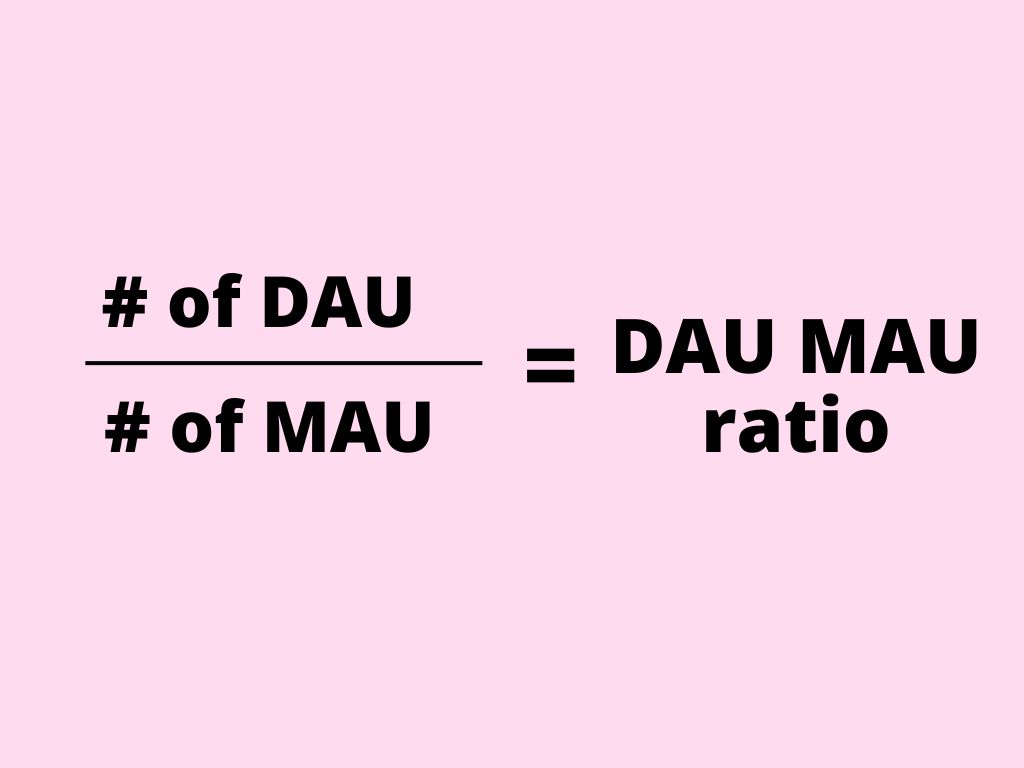
To calculate the DAU/MAU ratio, divide the number of daily active users (DAU) by the number of monthly active users (MAU) and multiply the result by 100. This will give you the percentage representing the stickiness of your app.
For example, let’s consider a scenario where you had 2,500 DAUs and 10,000 MAUs during the month of August. The DAU/MAU ratio for that month would be 25%. This indicates that 25% of your monthly active users engage with your app on a daily basis, which is considered exceptional, as the industry average for stickiness is around 20%.
How to increase DAU: Effective strategies for boosting DAU (Daily Active Users)
To enhance your daily active users (DAU) count and maximize user engagement, it’s crucial to implement a comprehensive app engagement strategy that utilizes various channels such as email, push notifications, in-app messages, and re-engagement campaigns. Here are some tips and pointers to help you ramp up your DAU rates:
- Push notifications: Push notifications are powerful tools for engaging app users, but they should be used judiciously to avoid overwhelming or annoying users. Focus on delivering value through personalized and relevant communication rather than bombarding users with excessive notifications. Monitor your push notification statistics to identify what resonates with your audience and refine your approach accordingly.
- In-app messages: Tailor your app experience to align with users’ needs and preferences. Personalized in-app messages have been found to significantly improve user retention rates compared to generic campaigns. Segment your audience based on demographics, preferences, usage, or history, and deliver timely and relevant messages that provide real-time updates and links to personalized content.
- Emails/SMS: Maintaining regular communication with users is essential for retention. Send occasional emails to engage new users and keep your app top of mind. Target users who were once active but have become inactive, offering exciting updates and reminding them of the value your app provides. Use email or SMS to deliver personalized content or relevant offers to re-engage users and drive them back to your app.
- Deep linking: When utilizing cross-channel strategies like email campaigns, ensure that the links direct users to specific, relevant content within your app rather than just the general home screen. Deep linking enables seamless transitions between channels and ensures a consistent user experience. By removing obstacles and providing a hassle-free user journey, deep linking helps build strong, long-lasting relationships with users and strengthens your competitive edge.
Implementing these strategies and utilizing deep linking will contribute to a cohesive user experience, drive user engagement, and ultimately increase your DAU rates. Remember to continually analyze data, refine your approach, and adapt to evolving user needs to optimize your app’s performance.
Key information about DAU (Daily Active Users) to remember
- In the app world, an active user is typically defined as someone who logs into their account. However, the specific types of engagement that constitute an active user can vary across different industries and business objectives.
- While calculating DAU may seem straightforward, it can become more complex depending on how you define user activity. Monitoring your DAU over time is essential for evaluating the effectiveness of your campaigns and the overall customer experience your app provides.
- To increase your DAU rate, it’s crucial to implement a comprehensive app engagement strategy that spans multiple channels. Utilize email, push notifications, in-app notifications, and re-engagement campaigns to deliver personalized and valuable experiences to your users.
- By leveraging these cross-channel efforts, you can offer tangible value and tailored interactions to your users. This, in turn, leads to higher engagement and improved user retention.
By continuously refining your app engagement strategy and adapting it to meet the unique needs of your target audience, you can boost your DAU rate and create a thriving app ecosystem that keeps users actively engaged.