How to write/type right arrow symbol on keyboard – Alt + 26
What is the Right arrow symbol is used for?
The right arrow symbol is one of the most generic and simple emojis. It shows a minimalistic arrow pointing right. Since it is a very simple emoji it can be used in almost any context; for example, to indicate a direction or an object that is on the right. Sometimes right arrow symbol can also mean the next thing, stop or person in a group.
Typing the right arrow symbol (→)
This is a detailed guide with several methods you can use to type or insert the right arrow symbol text anywhere on your PC keyboard, like in Microsoft Word/Excel/PowerPoint or somewhere in your browser like Google Docs.
Whether you are using Mac or Windows keyboard, you’ll learn all the easy methods to get this symbol including the right arrow shortcut and alt code.
Let’s get to work without wasting much time.
Quick Guide for typing the Right Arrow symbol (→)
To make a right arrow symbol anywhere on your PC or Laptop keyboard (like in Microsoft Word or Excel), simply press down the alt key and type 26 using the numeric keypad on the right side of your keyboard.
For Mac users, to get the Right arrow symbol, first press Control + Command + Spacebar to bring up the character viewer. Using the search bar near the top of the character viewer, search for ‘arrows’ and double click on the right arrow symbol to insert it into your work.
The table below contains everything you need to know to be able to type right arrow symbol on both Mac and Windows .
| Name of Symbol | Rightwards Arrow |
| Symbol Text | → |
| Symbol Alt Code | 26 |
| Shortcut for Windows | Alt + 26 |
Whether you are using Windows or Mac, the above information is enough for you to make the right arrow symbol into your Word/Excel document.
However, if you are not satisfied with this quick help, keep reading below as I will explain in detail, how to get the right arrow symbol or any other arrow symbol anywhere on your Mac or Windows PC like in MS Word/Excel/PowerPoint.
As you may already know, there are several dual-purpose keys on the keyboard for both Windows and Mac. That is to say that there are symbols readily available as second keys on the keyboard. Just by pressing two or more keys simultaneously, you can easily insert such symbols into your document. For example, pressing Shift + 1 keys give you the exclamation (!) mark.
However, other symbols aren’t printed on the keyboard as second keys. This makes it difficult to type. One of these symbols is the right arrow symbol text (→).
Typing becomes very difficult for you if you need to add some of these symbols regularly into your document. But it doesn’t have to be difficult. Especially now that you are reading this detailed step-by-step guide.
How to Make Right Arrow symbol?
Now, I will show you all the easy ways to type or insert right arrow symbol (→) anywhere on your Windows or Mac PC (such as Word or Excel or PowerPoint).
Without any further delay, below are the methods explained in detail.
Method #1: Typing a right arrow symbol
Using Alt code Shortcut for right arrow symbol for windows
Windows has several shortcuts for symbols, some of which work only in Microsoft Word. However, there’s a Windows shortcut for the right arrow symbol that works across all applications. It is the alt code shortcut which is Alt+26.
Now, I’ll further explain the alt code shortcut for the right arrow symbol.
Method #2: Typing Right Arrow Symbol on Mac
Inserting Right Arrow Symbol on Mac
Using the character viewer on Mac, below are the steps to insert the right arrow symbol text on Mac:
- Click to place the insertion pointer where you want to add the symbol.
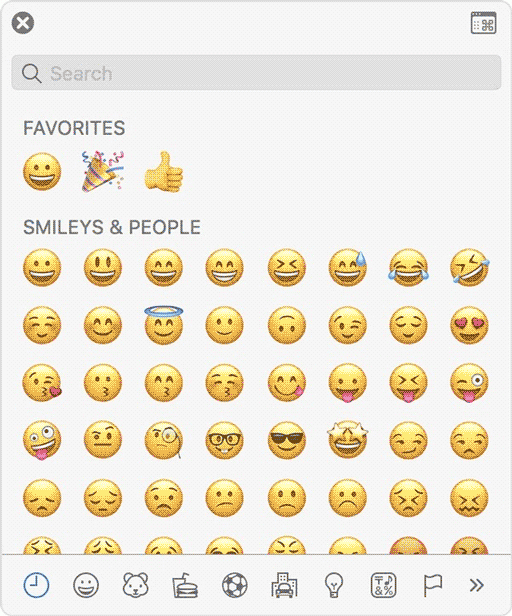
- Press Control + Command + Spacebar on your keyboard. This brings up the character viewer, which looks like the picture below:
- Using the search bar at the top of the character viewer, search for “arrows”. Alternatively, click on the expand icon in the top right corner that looks like the screenshot below.
![]()
After you click on this icon, the expanded view of the character viewer will look like the screenshot below.
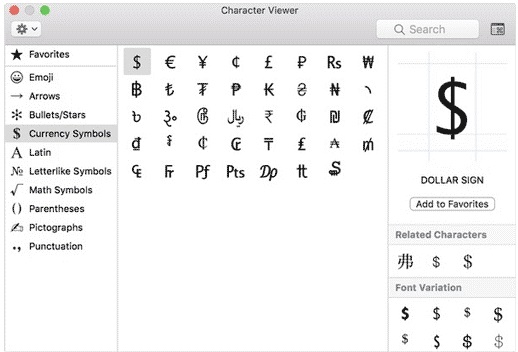
- You should now see “arrows” in the left-hand menu, just under the “emoji” group. Browse through these arrows and double-click on the right arrow symbol or any other arrow symbol you wish to insert.
![]()
This is how you can easily insert the Right arrow symbol on Mac.
Method #3: Typing right arrow symbol
Right Arrow Symbol Alt Code (Windows)
The right arrow symbol alt code is 26.
Every symbol in Word has a unique code that you can use to insert the symbol into your document. This code is known as “alt code”.
Below are the steps to type this symbol on your keyboard by using the alt code mentioned above:
- Press the num lock key to enable the numeric keypad. Use Fn key + NumLk keys to turn on Num Lock on laptops without the numeric keypad.
- Press and hold the alt key and type 26 using the numeric keypad.
- After typing the alt code (i.e. 26), release the [Alt] key.
Once you’ll release the alt key, the right arrow symbol will appear in your document.
Method #4: Typing right arrow symbol
Using Insert Symbol Dialog
This approach isn’t as straightforward as the shortcut methods. But it’s fairly simple.
And once you get the symbol into your document, you can always copy and paste it again as and when you need it into your document. This method works on both Windows and Mac.
Below are the steps to insert the right arrow symbol/emoji in Word using the insert symbol dialog.
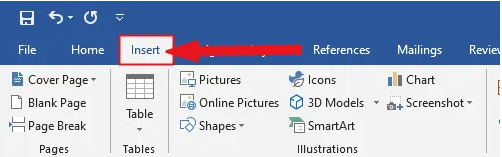
- Go to the Insert tab.
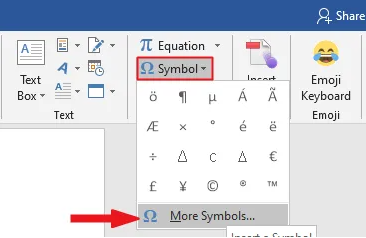
- On the insert tab, click the symbol button and choose more symbols.
These few clicks will bring up the symbol dialog box.
- Under the symbols tab, in the font drop-down list, type and select wingdings. This should filter out all the windings symbol texts including the right arrow symbol.
- Select the symbol, and then click on the insert button.
![]()
- Alternatively, double-clicking on the right arrow symbol will also insert the symbol into your document.
- Click the close button.
This is how you may insert a right arrow symbol text in Word using the insert symbol dialog.
Method #5: Typing right arrow symbol
Word’s AutoCorrect for the Right Arrow Symbol Text
You can also type the right arrow symbol text using the autocorrect feature in Word.
It is a feature in MS Word designed for correcting spelling mistakes like thsi to this.
Using this autocorrect feature, you can assign a shortcode to the right arrow symbol (such as RTARR).
This way, whenever you type the text RTARR, Word will think that you actually wanted to type → and will convert it into the right arrow symbol for you automatically.
![]()
- Click add, and then hit the OK button.
Now, word will automatically insert the right arrow symbol into your document whenever you type RTARR.
Things you should remember before using the autocorrect feature in Word
Below are some things to take into consideration when you are using the autocorrect method to insert the right arrow symbol.
- Autocorrect is case sensitive. Meaning if you type rtarr (in lowercase), Word will not convert it into the right arrow symbol unless you type RTARR (in uppercase).
- If there is any text before or after the autocorrect text, Word will consider the autocorrect text as part of the text and hence will not convert it to the right arrow symbol. For example, GetRTARR (without space) will not get converted, but Get RTARR (with space) will get converted to Get →.
Method #6: Typing right arrow symbol
Copy and paste the Arrow symbol text
You can simply copy the right arrow symbol given below and paste it into your document.
→
My favorite method for inserting symbols I can’t easily type is copy and paste.
With this method, all you need to do is google the symbol you need to type, then copy it from one of the search results provided. Once you get the symbol into your document, you can always recopy and paste it as and when the need arises.
There is another way to copy this and any other symbol on Windows. It involves using the Windows character map.
Obey the steps below to copy and paste any symbol using the character map.
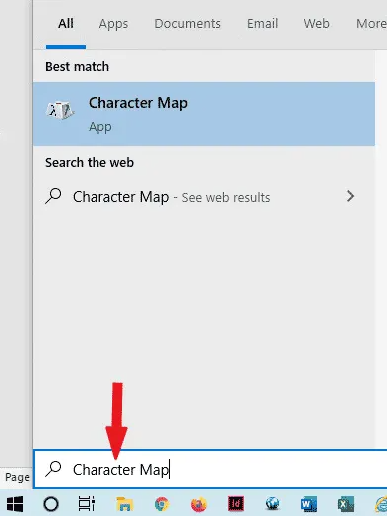
- Search for the character map app by clicking on the start button.
- The character map app will show up in the search results. Click on it to launch.
- After the character map window opens up, click to check the advance view checkbox to expand the window for more advanced options.
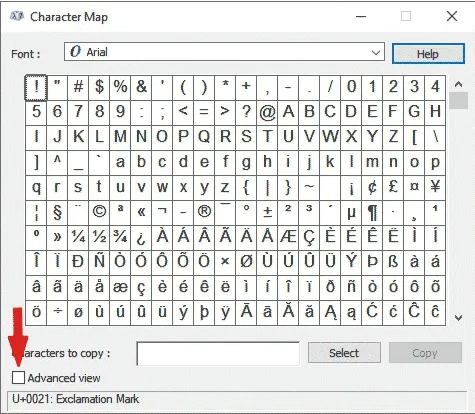
- On the advanced view section, type arrow or rightward arrow in the search box.
- The symbol you searched for (i.e. the rightward arrow) will now appear on the character map. Double click on it to select it. You’ll see that the symbol appears in the characters to copy text box. This allows you to select and copy several symbols at the same time.
![]()
- After selecting the symbol, you wish to copy, click on the copy button.
- Switch over to wherever you need the symbol, whether in MS Word, Excel, or PowerPoint, and press Ctrl + V to paste.
This is how you may copy and paste the right arrow symbol using the character map on Windows.
Method #7: Typing right arrow symbol
HOW TO ADD RIGHT ARROW SYMBOL IN HTML?
To add the right arrow symbol in HTML, you can use an HTML entity, an HTML code (decimal), and a Hex code. Use the shortcode section to copy the various shortcodes for the black right-pointing pointer. Here is the example:
<span>→</span>
HOW TO ADD RIGHT ARROW SYMBOL IN CSS?
To add the right arrow symbol in CSS, you can use a CSS entity or CSS shortcode. Use the shortcode section to copy the CSS entity code for the right arrow symbol/emoji.
Here is the example:
span {
  content: "\2192";
}
Conclusion
As you can see, these are the various ways you can use to type the right arrow symbol text in Word/Excel with or without using the keyboard.
My favorite method is using the copy and paste method followed by the right arrow symbol/emoji shortcut in Word for both Windows and Mac. The alt code method also comes handy.
For any comments or questions about this right arrow symbol guide, please let me know in the comments section below.
Was this article helpful?
Support us to keep up the good work and to provide you even better content. Your donations will be used to help students get access to quality content for free and pay our contributors’ salaries, who work hard to create this website content! Thank you for all your support!
Reaction to comment: Cancel reply